To prepare for our Hip Pain Relief Program, we asked our resident physical therapist, Jenna Ellis, to help us understand what’s going on with our hips. Whether you’re looking for pain relief or just want to understand how your body works, the information below should demystify hips for you – and make you wonder why we weren’t taught about our body parts in grade school. We’re all born with beautiful complex bodies, learning how to operate and care for them should be standard, no?
What are our hips and why are they so important?
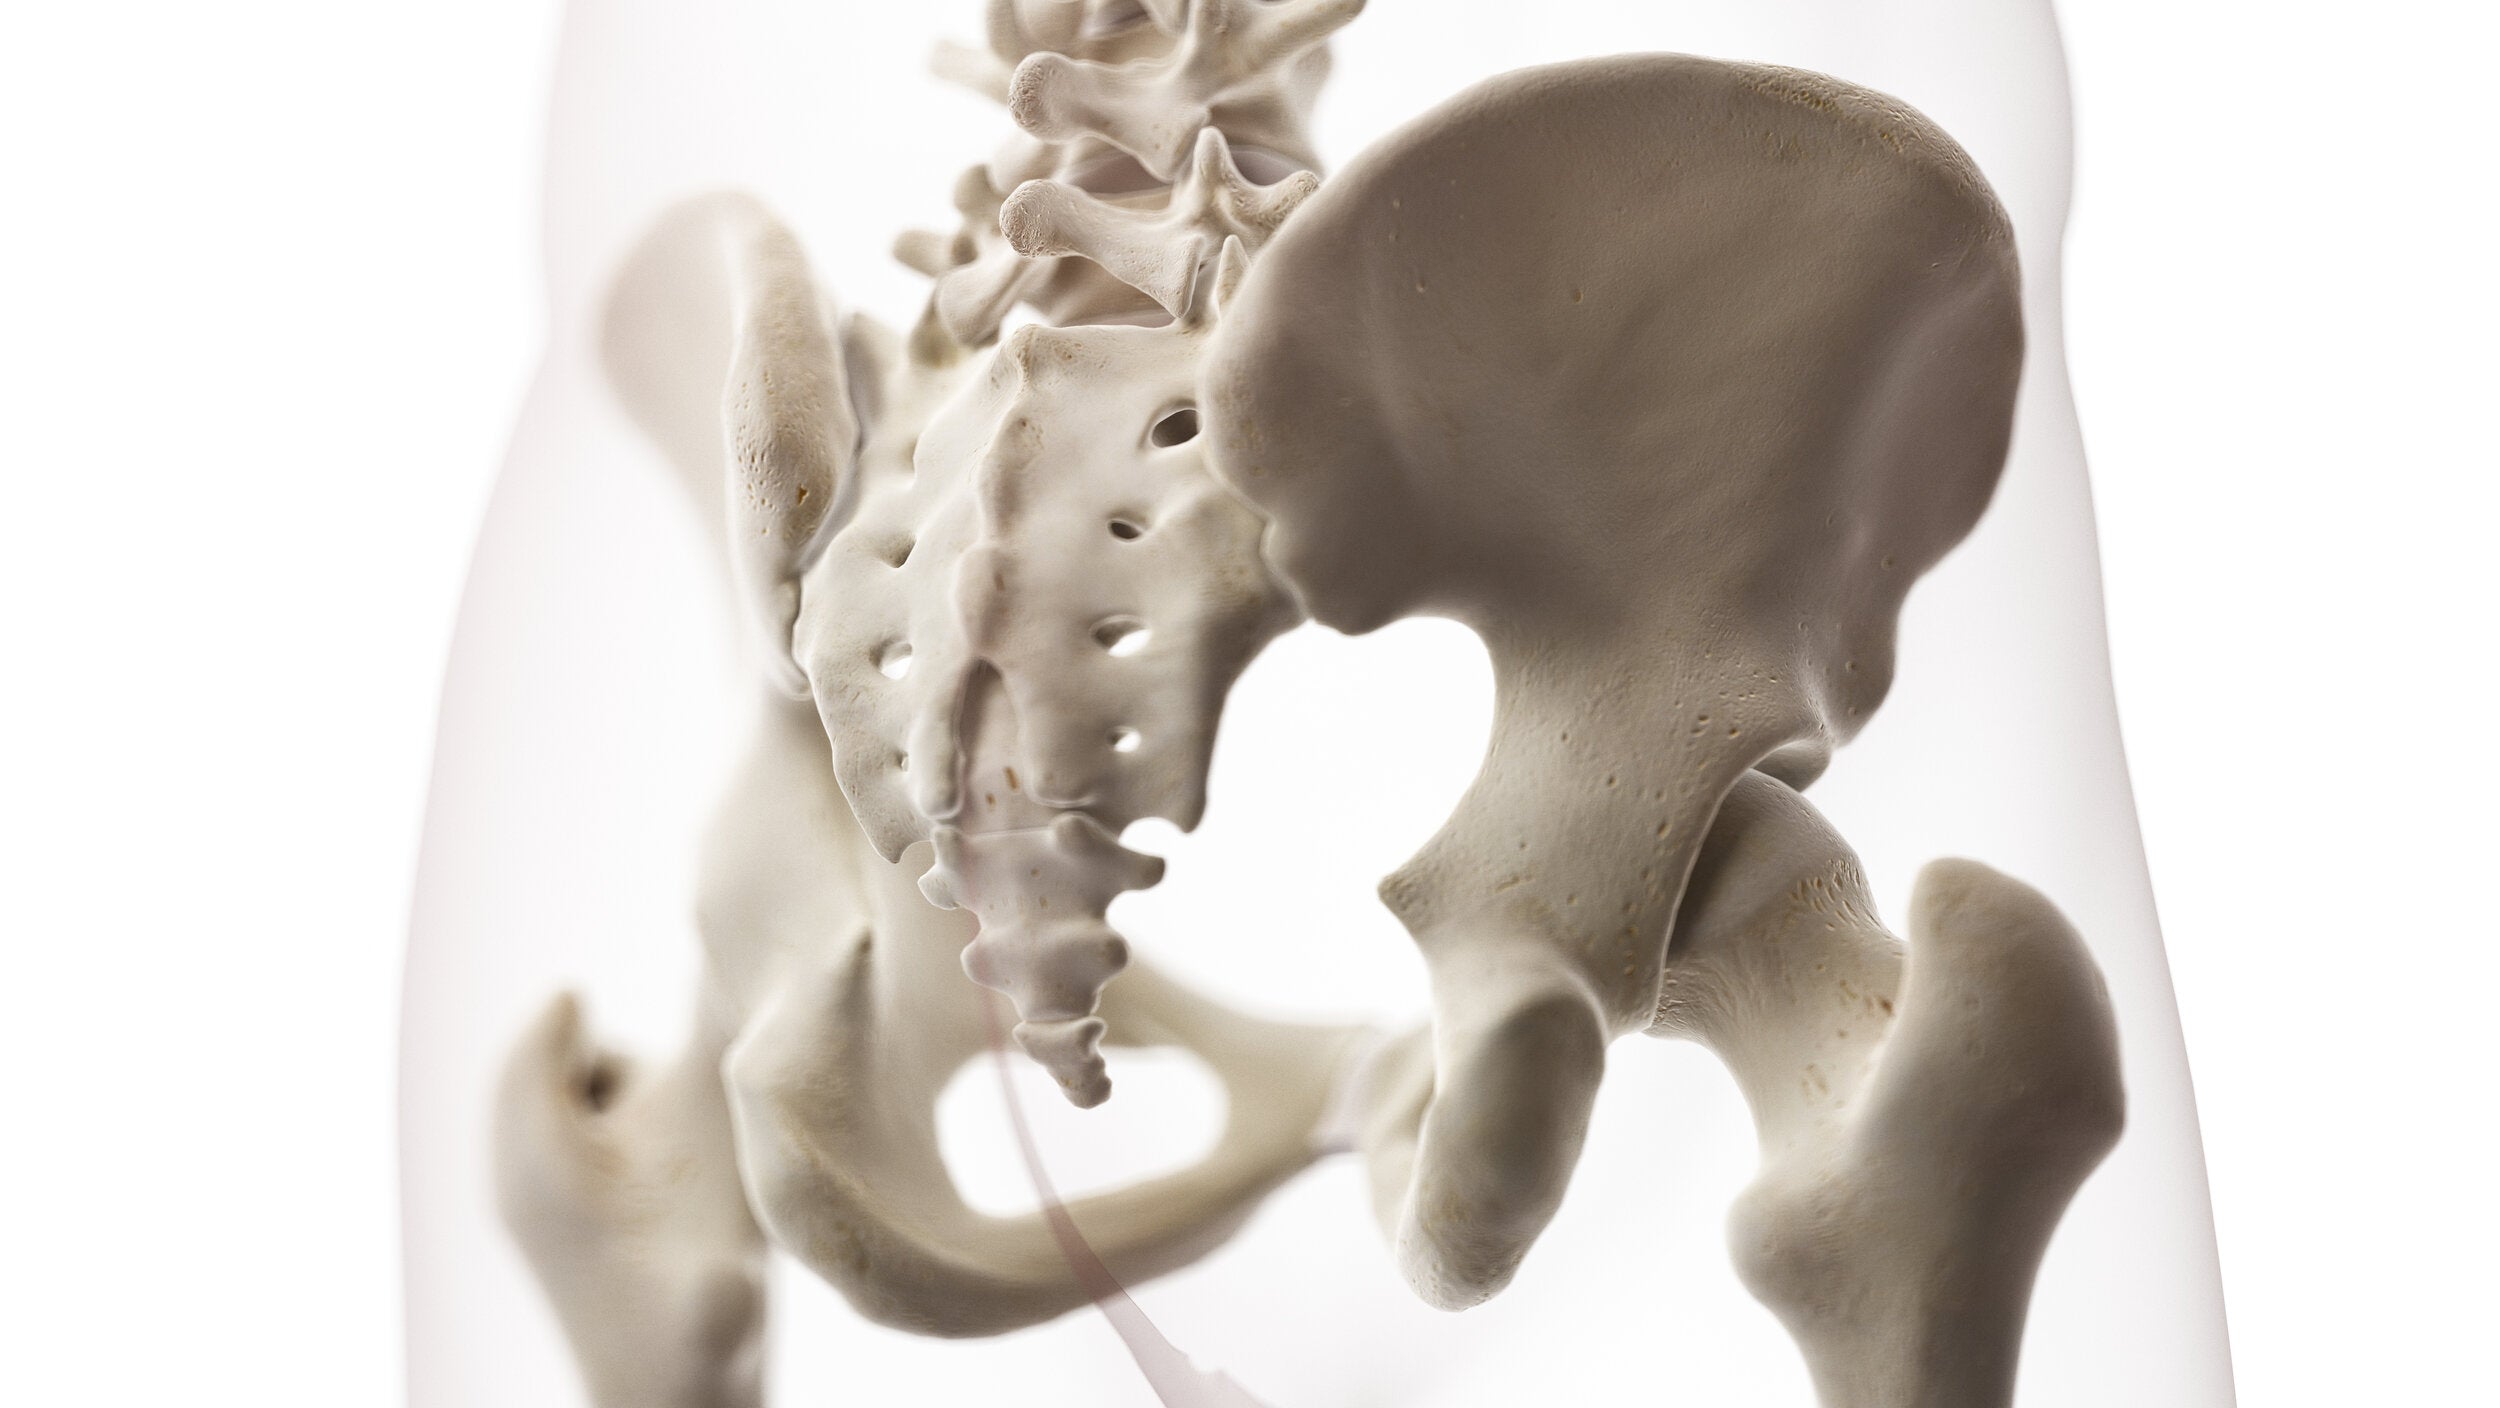
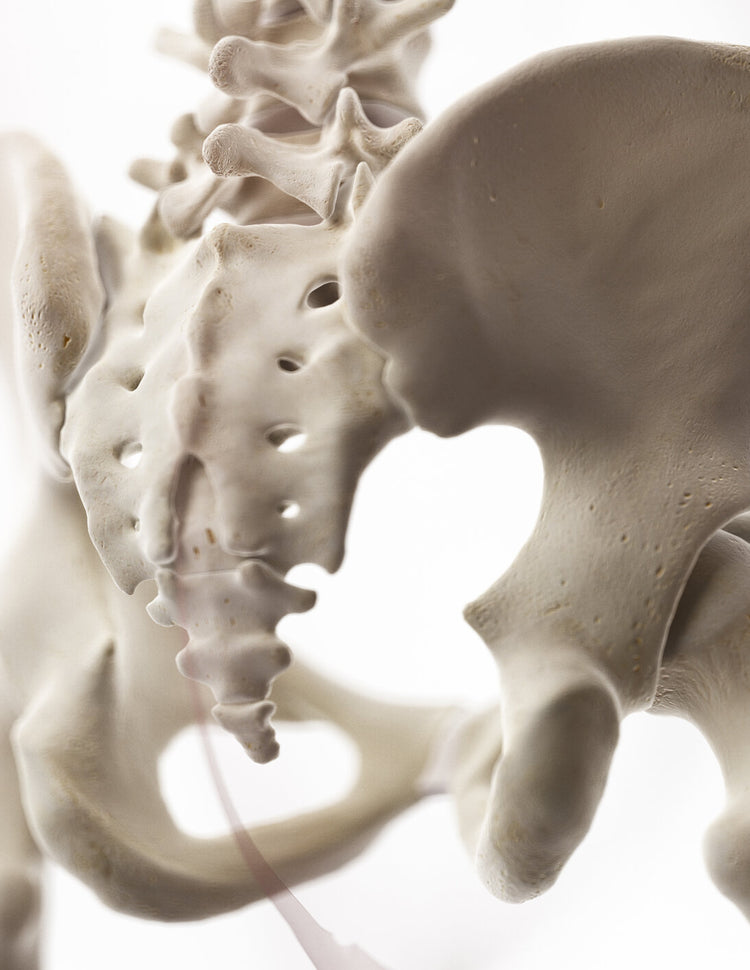
Our hips are the joints that connect our legs to our pelvis and torso. They are designed to hold a lot of our body weight, which makes them very stable. Since it is a ball and socket joint, our hips can rotate, move forward, backward, and side to side. This means the hip is working when you sit down in a chair, lunge, pick something up off the floor, step side to side, or twist your leg. We use the hip during Primal 7 squats, lunges, hip hinges, and balance or walking activities.
Beyond the movements they allow us to do, our hips are important because of the way they influence the joints above and below them. If our hips are not level, that can affect our lower back, knees, ankles, and feet. (We’ll go into more detail on that below.)
What causes hip pain?
Like our knees, two of the most common causes of hip pain and hip injuries are tightness and weakness.
-
Tight muscles
If we don’t stretch out our muscles, they can get really tight. Many people think you only need to stretch if you’re doing activities like running or cycling, but even just sitting for hours will make your muscles tighten up. This is a common issue for people who spend all day at a desk or on the couch.
Tight muscles are problematic for our hips as they can pull our pelvis out of alignment. When our pelvis is misaligned, it makes us move incorrectly, resulting in conditions like bursitis or tendinitis. The muscles that tend to cause hip issues when tight are hip flexors (muscles that run from your lower spine to the inside of your upper leg), hamstrings (the back-of-leg muscles that run from your hip to your knee), and glutes (butt muscles). -
Weak muscles
Too much sitting can lead not only to muscle tightness, but also muscle atrophy, wherein your gluteal muscles (aka butt muscles) become smaller and weaker. The phrase “use it or lose it” is apt here. Muscle atrophy can also occur after an injury or surgery – when you’re using crutches or have had a total hip replacement, for example – or as a result of nerve damage to the lumbar spine.
Weak gluteal muscles directly affect our hips as it’s the gluteus medius (outer butt muscles) that work to keep our hips level when we walk. When they are weak, our hips drop out of alignment, causing more stress and strain on the hip joint as well as your knee and foot. An off-kilter hip could also cause you to walk with what looks like a limp.
How can we recover from knee pain and prevent future injuries?
Since the issues we’re addressing boil down to weak and tight muscles, we need to work to stretch out and strengthen the muscles surrounding the hip – especially our glutes (butt muscles), quads (front thigh muscles), hamstrings (the back-of-leg muscles that run from your hip to your knee) and hip flexors (muscles that run from your lower spine to the inside of your upper leg). Doing so regularly will help us move through a full, pain-free range of motion.
If you’ve read our Knee Pain blog post or have completed our Knee Pain Relief Program, you’ll notice some overlap in the exercises. That’s because some muscles start at the hip and end at the knee, affecting both joints. Also, our body is an interconnected system and when one thing is off it tends to impact the other bits that connect to it. For example, when weakness or tightness throws off the alignment of your hip, that impacts your knee, ankle, and foot as well.
Here are four things that can help relieve and prevent hip pain:
1. Stretch your quads.

Your quads – aka Quadriceps femoris– are a group of four muscles in the front of your thigh. When your quads are tight they cause your pelvis to tilt forward. This is called anterior tilt. Just as water will spill out of a bowl that is tipped forward, a tilted pelvis sets off a ripple effect that weakens your glutes, puts more pressure and reliance on your lower back, and impacts the way you walk and move.
How to stretch your quads with a Primal 7 system:
Place a chair in front of you for balance. Raise the band in between knee and hip height to start. (After you do one stretch, you may opt to bring the band up higher for a bigger stretch.) Face away from the anchors and place your foot in the band, hands resting on the chair. Tighten your abs and squeeze your butt. With your right knee bent, raise your right arm straight up and hold it for ten seconds. Be sure to keep your knees even – don’t let one move too far forward or back. You should feel the stretch on the front of your thigh. Repeat, bending your left leg and lifting your left arm. You should do three sets with each side. Eventually, work your way up to thirty-second holds.
If you don’t have a Primal 7 system, try this instead:
Position yourself behind a chair, couch, or countertop. To stretch the right leg, bend your right knee and kick your heel towards your glutes, grabbing your foot or shoe with your right hand. Stand tall, making sure you’re not leaning forward. Keep your abs tight and engaged, open your hips, and breathe smoothly. You should feel a stretch in the front of your thigh and hip. Ideally, we hold this for thirty seconds, but you can start off with ten-second holds and slowly work your way up. After completing one hold, switch legs. Do this three times for each. Note: if this is too intense, try placing a chair behind you that you can rest your foot on.
2. Strengthen your glutes with Single Leg March Hold.

Your glutes are a team of three muscles; the gluteus minimus, medius, and maximus, aka your butt muscles. People with hip pain typically have weak gluteus medius and maximus. As described earlier, if your glutes aren’t strong enough to hold up your pelvis, the pelvis drops, putting extra pressure on your hip joint as well as your knees and feet.
How to strengthen your glutes with a Primal 7 system:
Facing away from the anchors, walk out until the band is taut, and position the band around the bottom of the chest. Lean forward a bit, coming into your Primal 7. Keep your abs tight and butt squeezed. Place your left foot under your hips, then lift your right foot up about an inch above the ground. Hold for ten seconds, then rest with both legs together and switch sides. To keep your balance during these single-leg march holds, focus on a stationary object about ten feet in front of you. For best results, do this every day, gradually working your way up to thirty-second holds.
If you don’t have a Primal 7 system, try this instead:
Keep your standing leg straight and engaged, engage your glutes, and raise the other leg into marching position. Make sure you’re squeezing your glutes to keep your butt tight. Keep your hips squared to maintain level pelvic height. Hold this single leg march position for ten seconds, lower your leg, and repeat with the other side. You want to do this three times with each leg. After you get comfortable doing this, gradually work towards holding for thirty seconds on each side.
3. Stretch your hamstring.

Your hamstring is “the group of three muscles that run along the back of your leg, from your hip to just below your knee”*. It’s important to stretch this group of muscles because if they are tight, they will tug on the pelvis, tilting it backward. This is called posterior tilt and it is the opposite of what happens when you have tight quads. It puts more strain on the lower back muscles and can cause a flattening of the lumbar spine over time. When this happens, the gentle forward curve in our lumbar spine can eventually reverse backward and cause a lot of pain. For a mental image of what a reversed lumbar spine curve looks like, picture someone slouching forward. Tight hamstrings can also cause knee and leg issues.
How to stretch your hamstring with a Primal 7 system:
Stand under the anchors and behind the band. Place your right heel in the middle of the band and lightly grab the straps. Press your right leg out, straightening the knee until you feel a gentle pull in the back of your thigh. Make sure you are standing upright and not hinging forward at your hips. Keep your hips square and chest upright. Hold this position for ten seconds then switch legs. Do three ten-second sets for each leg. Eventually, you want to work your way up to thirty-second holds, but it is best to start slow and really learn how this stretch feels.
If you don’t have a Primal 7 system, try this instead:
Grab a belt before getting started. Then lay down on the floor, flat on your back with your legs straight out. Make a loop with the belt and place it around your right foot. Keeping your knee straight, pull the belt up until you feel a gentle stretch in the back of your thigh. Hold for ten seconds and repeat three times on each leg. Eventually, you want to work your way up to a thirty-second hold, but it is best to start slow and learn how this stretch feels.
4. Strengthen your glutes & hamstrings with Bridge

We’ve already discussed why strong glutes and limber hamstrings are key to healthy hips, but we haven’t gotten into why we need to keep our hamstrings strong, too. For starters, strong hamstrings help us with everyday movements like walking and getting up from a seated position. Strong hamstrings also offer some balance that helps keep the pelvis in alignment. It's very easy to become "quad dominant", which means that the quadriceps (front thigh muscles) are much stronger than other muscles in your legs. When this happens, it pulls the pelvis up and out of alignment. An easy way to visualize this is by imagining a tug of war. If your quadriceps win the tug-of-war, they tip the pelvis too far forward! Strengthening your hamstrings helps gently pull the pelvis backward, counteracting the quads and keeping your pelvis level.
How to do bridge with a Primal 7 system:
Lay flat on the floor and place both heels in the Primal 7 band, about a hips-width apart. If you need to, scoot your body back until your knees are straight. Before moving, make sure to tighten your abs and squeeze your butt. With both your abs and glutes engaged, lift your hips off the floor until your body is parallel with your feet. Hold for ten seconds and then return to start. Make sure you are keeping your abs and butt squeezed during the entire movement to avoid stress on your lower back. Make sure not to overextend your hips past parallel. When you’re just getting started one ten-second hold is a good place to start. After you feel confident with that, begin working your way up to repeating it five times.
If you don’t have a Primal 7 system, try this instead:
Lay flat on the floor and place your heels on a couch cushion or object that's about 6-8 inches off the floor. Straighten out your knees, squeeze your abs and butt. Keeping both tight, lift your hips up to parallel, hold for a second, and then return to start. If you don't get to parallel, don't worry! You can make that a goal to work towards at your own pace. Another option is to lay down with your back and feet flat on the floor, your knees bent, arms resting straight at your side. If you can touch your fingers to your heels, you’re in a good starting position. Like with the other version of this exercise, you’ll want to squeeze your abs and butt tight and lift your hips up off the floor until your hips and torso are parallel to your thighs. Pause, hold it for ten seconds, then lower to the start position again. Over time, work your way to doing five reps.
Those four movements should get you started on the road to happy, healthy, pain-free hips. For more exercises, easy-to-follow routines, and guidance, keep an eye out for our free Hip Pain Relief Program†. In the meantime, if you have any questions about your hips, post them in the comments below. Jenna will be responding to any hip-related questions that we get this week.
† If you’re not already subscribed to our newsletter, sign up here to be alerted when our Hip Pain Relief program launches!